Goal
Around two months ago, I created a blog post for my weekend project demonstrating 1-dimensional Cellulator Automata; you can see that post here. Since then, I’ve started looking more into more current Web Development technologies including some of the videos from Travis Nielson’s fantastic youtube channel addressing topics in Web Development and full process design. Through those videos, I was introduced to the preprocessing/templating languages Pug (formerly Jade) and Sass for HTML and CSS, respectively. In the interest of learning more about these tools, I decided to rewrite the Cellular Automata demo page using Pug and Sass. You can find the source code here.
Pug/Sass development workflow
Since Pug and Sass are meant to generate HTML and CSS, you need some workflow to actually do that rendering for you. There are a number of tools and plugins depending on your IDE which will happily take care of that for you. However, being a Vim user, I decided to hack together something.
Getting started with Pug/Sass
# install all the things -- assumes you have Node and Ruby installed
npm install pug
gem install sass
Automation
The goal for me, as a developer, is to not worry about this automation. I want to kick things off when I
start working and render HTML/CSS on the fly as I make changes. To achieve that, I make a simple bash function
to manage the sass and pug tool process which take care of that with an optional configuration that controls
where to pull Sass/Pug files from and produce HTML/CSS files to:
.bashrc (snippet)
# setup web development workflow for pug/sass
function wdlaunch()
{
  # combine defaults and PWD/.wdlaunch.conf
  # <snip>

  # render pug → html
  pug -P ${PUG_FROM_DIR} --out ${PUG_TO_DIR}
  nohup pug --watch -P ${PUG_FROM_DIR} --out ${PUG_TO_DIR}

  # render sass → css
  SASS_ARGS="--quiet --sourcemap=none --style=expanded"
  sass $SASS_ARGS ${SASS_FROM_DIR}:${SASS_TO_DIR}
  nohup sass --watch $SASS_ARGS ${SASS_FROM_DIR}:${SASS_TO_DIR}

  # wait & kill nohup processes
}
.wdlaunch.conf (optional)
# pug config
PUG_FROM_DIR="pug"
PUG_TO_DIR="."

# sass config
SASS_FROM_DIR="sass"
SASS_TO_DIR="css"
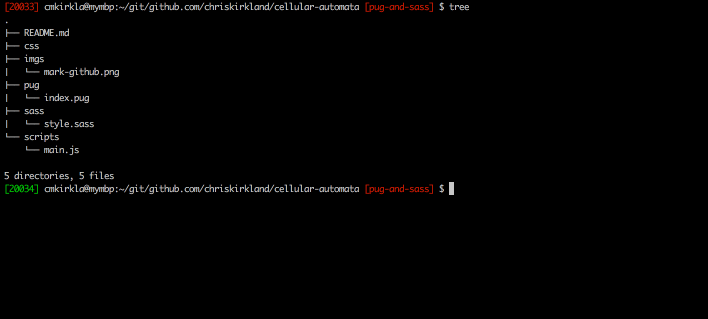
Here is a quick screencap of the workflow in action:
Takeaways
There are a number of benefits for using preprocess like Pug and Sass, but, by far, the two most important from the developer’s perspective are that
you can deliver code more quickly and you have less code to maintain. By way of comparison, moving from CSS to SASS decreased the total LOC from
109 to 96. However, the biggest improvement came from moving from HTML to Pug which decreased the total LOC from 165 to 65 (down roughly 60%)!
The biggest culprit in the original demo was the markup for the “rule visualizer” section; here is a side by side view of the original HTML and the new Pug code
leveraging the (awesome!) mixin feature:

In conclusion, although a solid understand of HTML/CSS basic is requires for all would-be Web Developer, preprocessing tools like Pug and Sass should be in the repertoir of all developers who care about speed to deliver, efficiency, and maintainability.